How to Make Soil for Growing Plants – Part 2
Part 2: Making the Dirt
Continued from Part 1 – Ingredients
The difficult part is finding and getting all the ingredients into one place. Once you have them, you can just mix them all together into a huge pile.
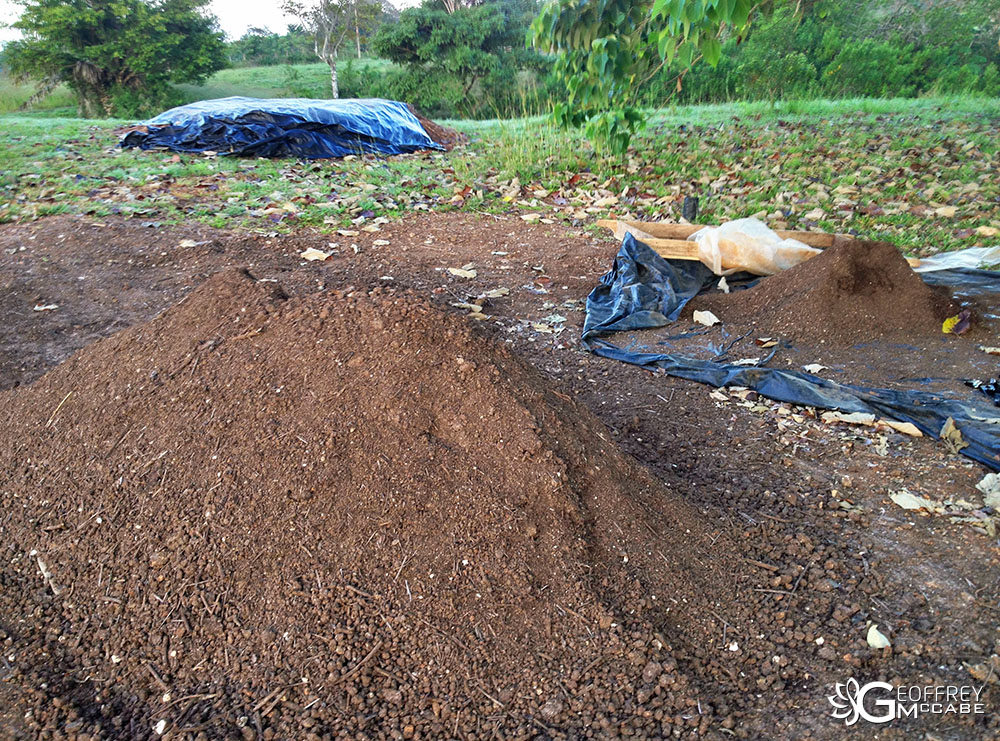
The pile should not be more than 1.5 meters deep, so if you’re making a lot of soil at once, then you can push it into a large row.
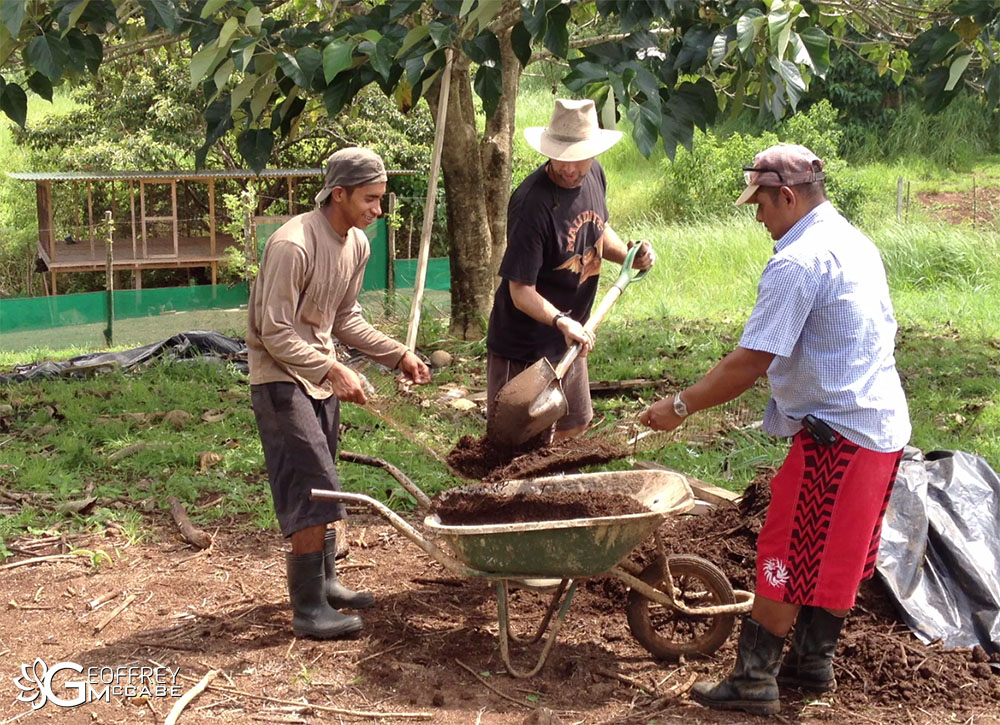
At first, we did everything by hand, but it was so difficult, that once we added up the labor involved, we found it was cheaper to bring a backhoe to do it.
Add Water
Once you’ve mixed the ingredients, add water. Water is very important in this process and it’s not going to work well without it. Throughout the process, you need to add water occasionally, such as once a week.
In rainy season, it would get lots of water from rain, but if you have the pile covered with plastic, then the rain won’t get into it, so you’ll have to add water by hand or leave it in the rain.
Cover your pile
-
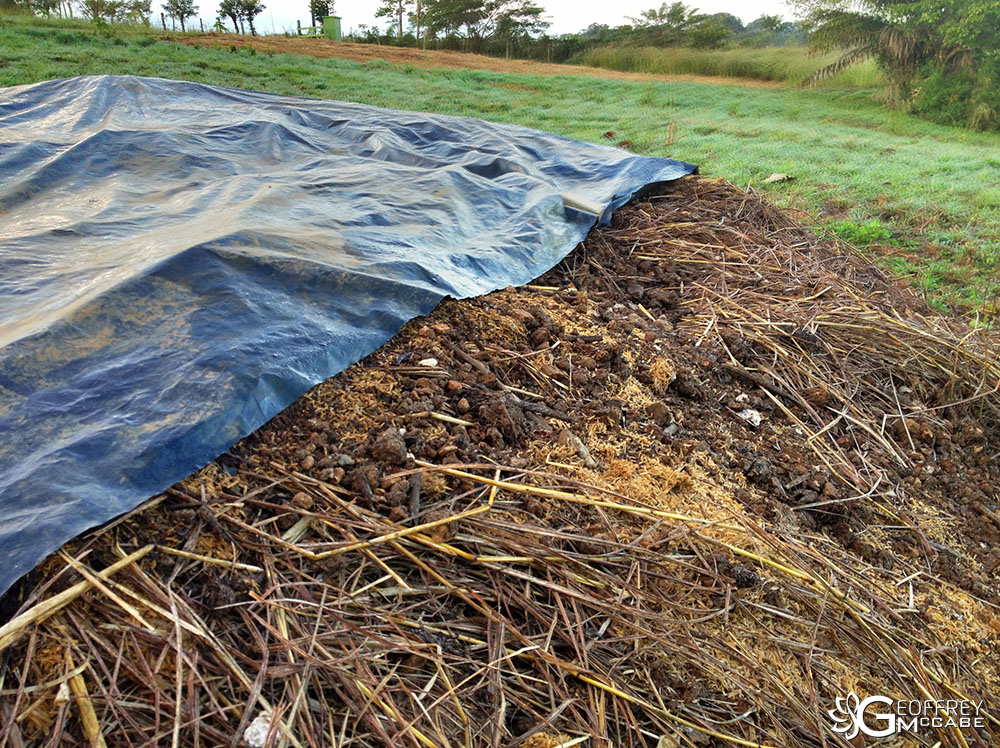
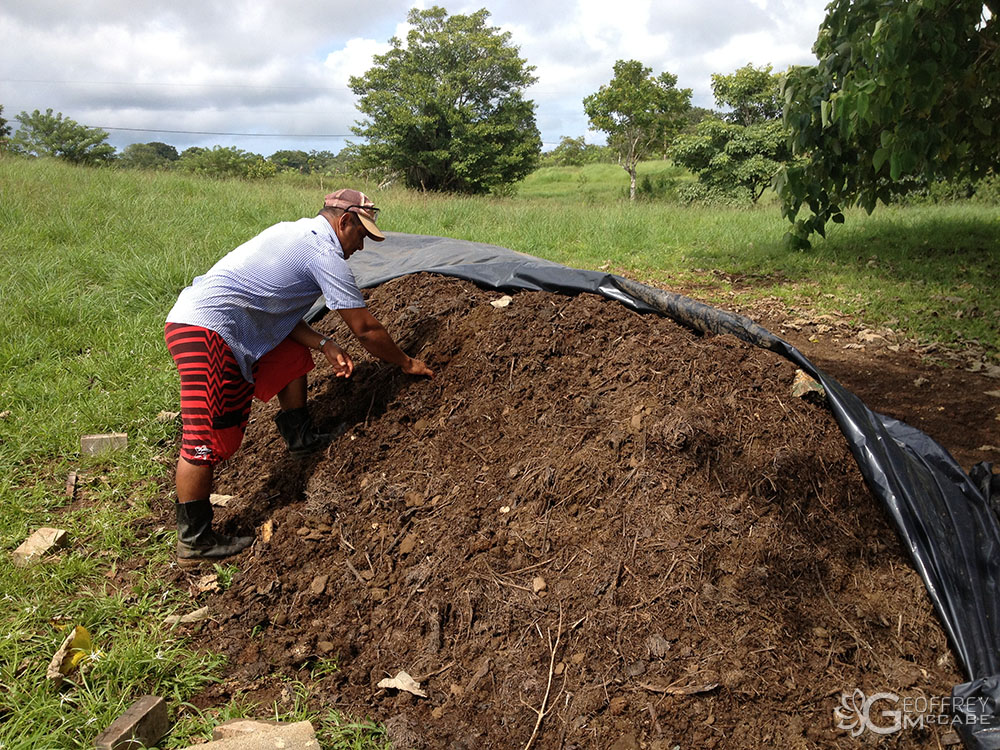
Black Plastic: We use black plastic, because it helps heat up the pile. You want to generate as much heat as you can. The pile will actually get steaming hot in the inside, which cooks it and helps the bacteria break it down fast.
Clear Plastic: You can use transparent plastic too. The sun’s raise will pass through the transparent material and this “greenhouse effect” will help heat up your pile. It can also help to sterilize the soil, cooking weed seeds, nematodes, and bugs you don’t want.
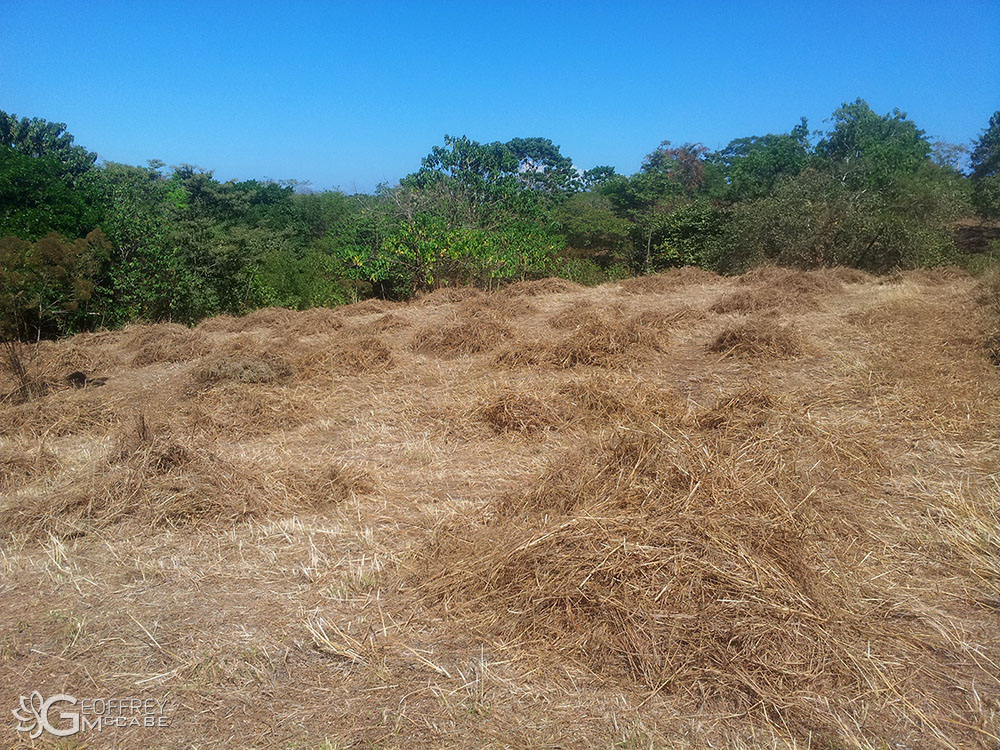
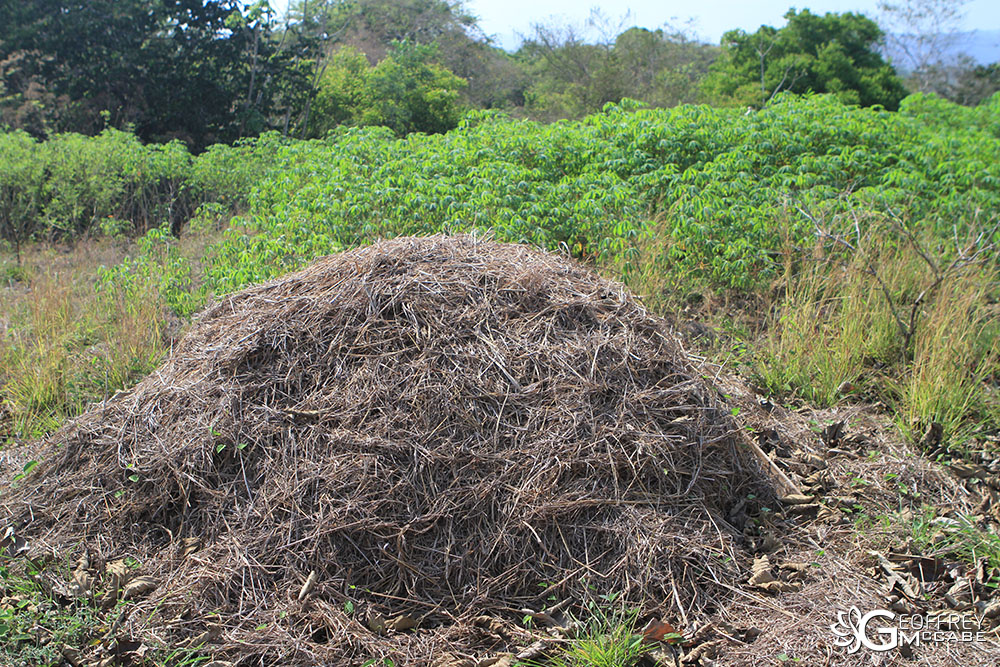
Mulch: Another option is to cover it with mulch or dried grass. This protects it from heavy rain washing your soil away.
Mix and Turn Your Pile
The more frequently you do this, the better. The more often you do this, the faster it will all break down into dirt. This timing will help you plan:
-
Turn Every Day: 6 weeks to make the dirt
Turn Once a Week: 3 months to finish
Turn Never: 6 months to a year
This chart is very important to understand, because you should know that you can make the dirt without doing much. Turning it over is a lot of work. If you plan ahead and are willing to wait, then you can really reduce your labor. At Rancho Delicioso, we try to have some long-term piles that we hardly touch, and others that we mix up every couple of weeks with a backhoe. Eventually, we hope to have repaired most of our farm’s soil so that we don’t have to be making so much of it. Hopefully you’re lucky and your farm already has great, rich dirt.
Sift that Dirt
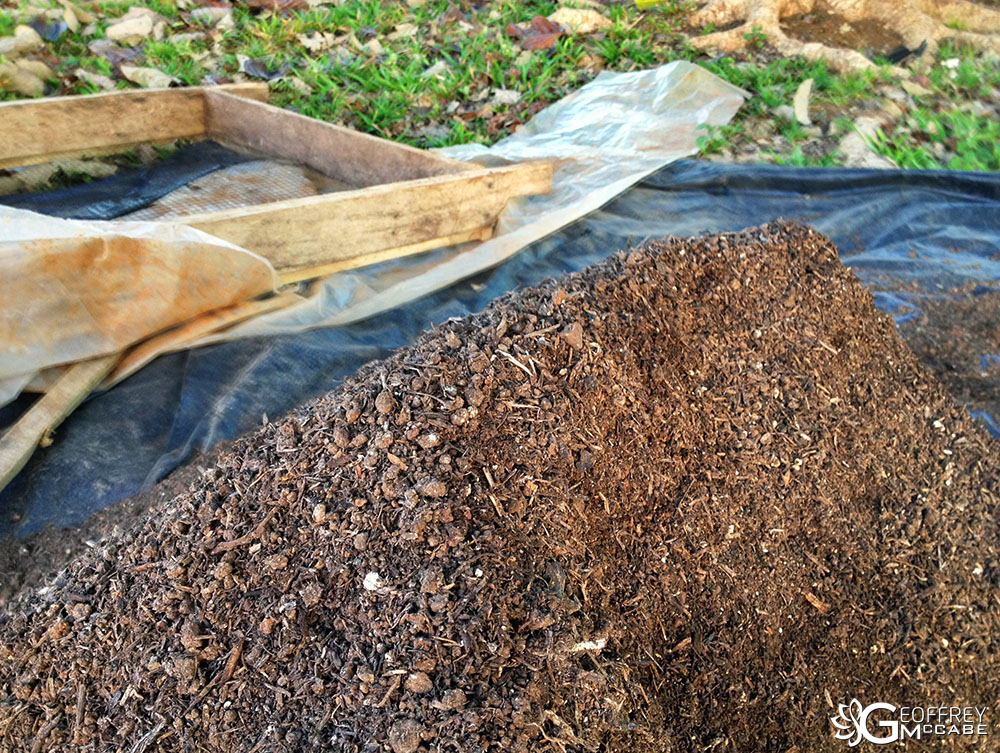
Once it’s ready, it will look like and SMELL like dirt. It will have a lot of tiny bits. It will be light and fluffy, not too clumped together.
Using metal screen from the hardware store, you can sift your soil to remove all the bigger chunks. Here, we put it through a screen with holes perhaps 1cm wide. Then, a much finer screen, and this dirt we put in bags. The larger chunks we put back in the pile, or add to a new pile.
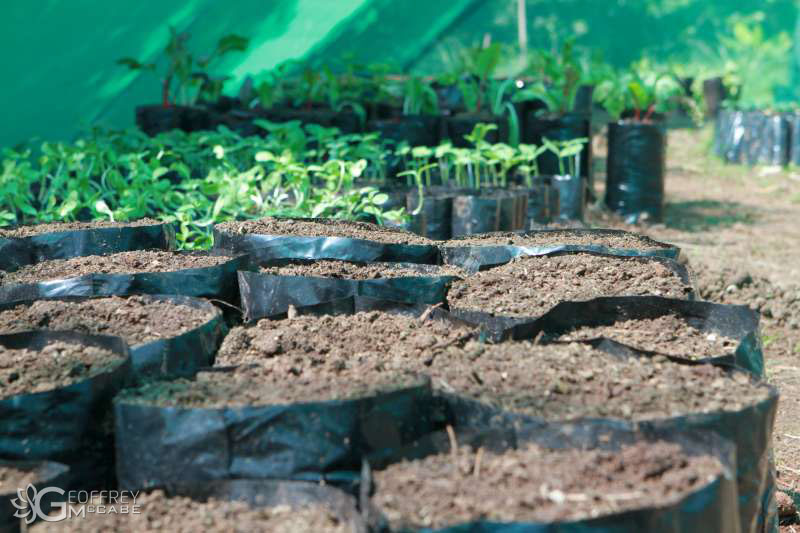
When you’re done, your soil should really be very light. Water will pour through it easily, which is so important here, since so many plants will not grow well if their roots get too wet, or if they can’t easily grow their roots through the vacancies between the soil grains.
Over time, your soil will compact down, but with the right dirt with lots of organic material and not too much clay, it will be a really great start.
Now, you’ve got to make it into raised beds, put mulch on top to protect it, and add lots of earthworms, which are a grower’s best friend to enrich the soil further.


